Image display options
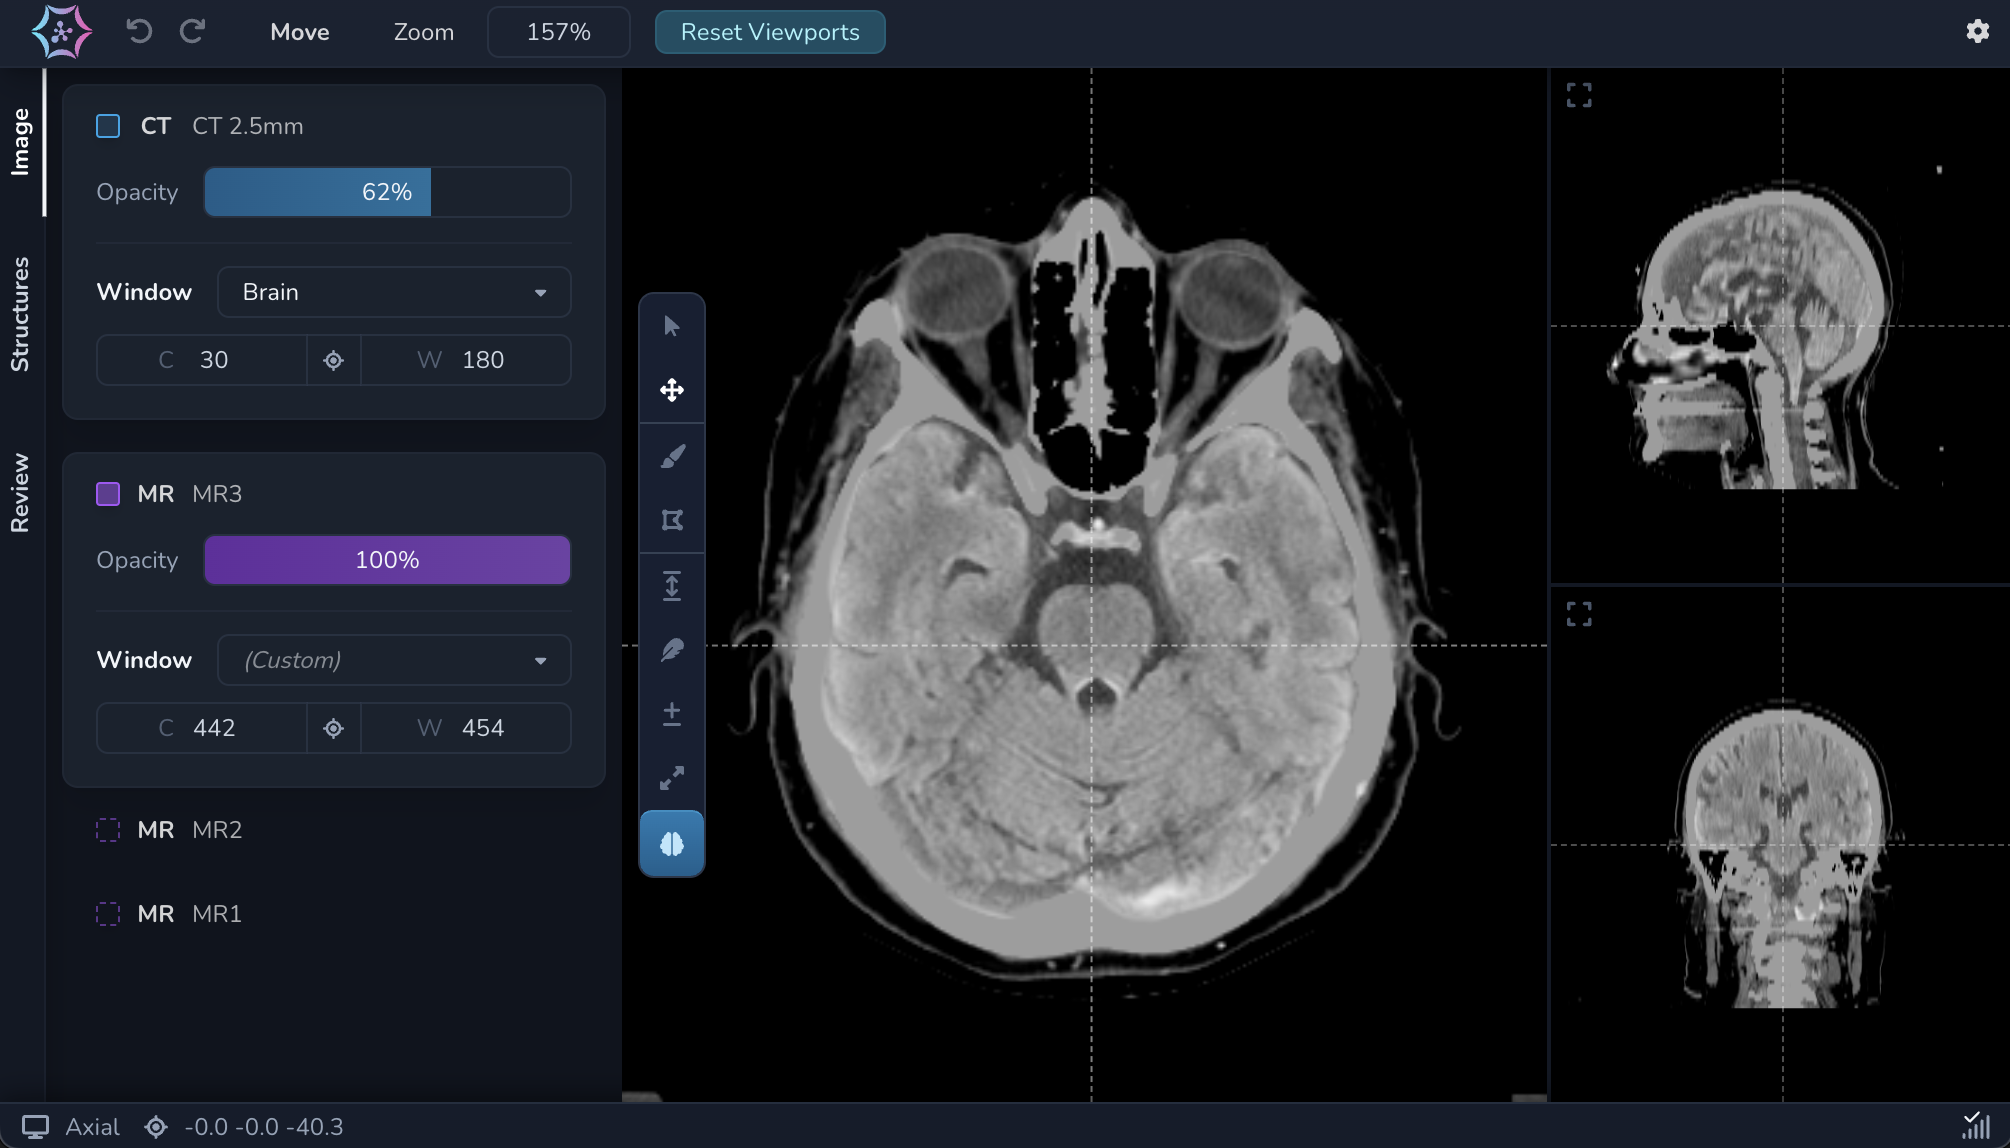
Inside the Image tab of the sidebar you can find all the image series available for the current patient and change aspects about the display of the image(s).

Changing the opacity
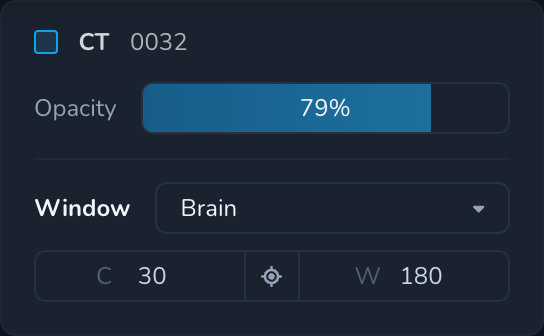
The opacity of the image can be adjusted by sliding on the blue Opacity slider or by clicking to set a specific value.
Toggling the visibility of an image
You can toggle the visibility of an image or an overlay by clicking on the / box in the top left corner of the controls box (next to the title).
Toggling the visibility of an image is functionally equivalent to setting its opacity to 0.
CT/MRI windowing
You can choose a corresponding window configuration from the available presets, by clicking on the dropdown.
Alternatively, you can set a custom window by adjusting the Center (C)
and Width (W) sliders. By clicking and dragging the middle
button you can change both the center and the width
simultaneously, depending on the movement of the pointer.
Image fusion
In case multiple image series are present for a given patient, image fusion can be performed. This allows for the fusion of one or multiple already-registered CT, PET and/or MRI images.

By clicking on the square box next to the title of the image, you can load an auxilliary image to fuse with the current image. Note the purple-colored box, indicating that the fused image series is an overlay and not the primary image.
Multiple image series can be fused simultaneously, and the Opacity function allows you to adjust the blending of two fused images.